
Integrate with Lightspeed K-series POS
Connect Lightspeed K-series to myne to sync customer data and reward customers via promotions
Published · Updated
 Lakshey
The Lightspeed K-Series integration connects your POS directly to myne, allowing you to understand your customers, recognise them in-store, and rewarding them with promotions based on their behaviour.
Once connected, myne continuously ingests your sales, product, and ordering data, turning it into actionable insights, customer segments, automated rewards, messaging & other actions.
This means you’re not just tracking transactions — you’re building a live view of your customers behaviour and using it to drive repeat visits and revenue.
Please note that customer profiles from K-series are created from transaction data as Lightspeed does not provide a full customer export. You can export your customers as a CSV and import them into myne
Setup guide
Step 1: Connect Lightspeed K-Series
Log in to myne: https://app.myne.network
Go to Settings → Integrations
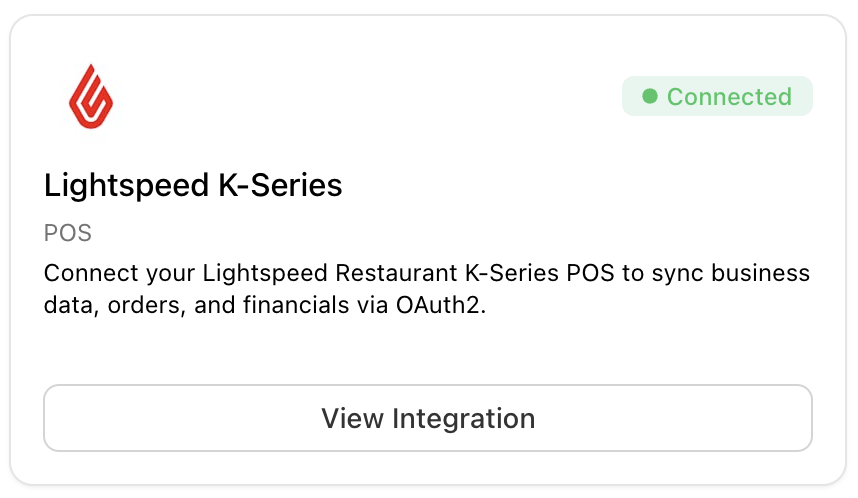
Open Lightspeed K-Series
Click Connect
Complete the OAuth flow with your Lightspeed credentials
Once this is done head down to the sync section where you can choose a data range for historical sales and start your initial sync
Step 2: Set up the POS web extension
You will now need to add the myne web extension inside K-series which will allow myne to show on your POS to show and apply promotions.
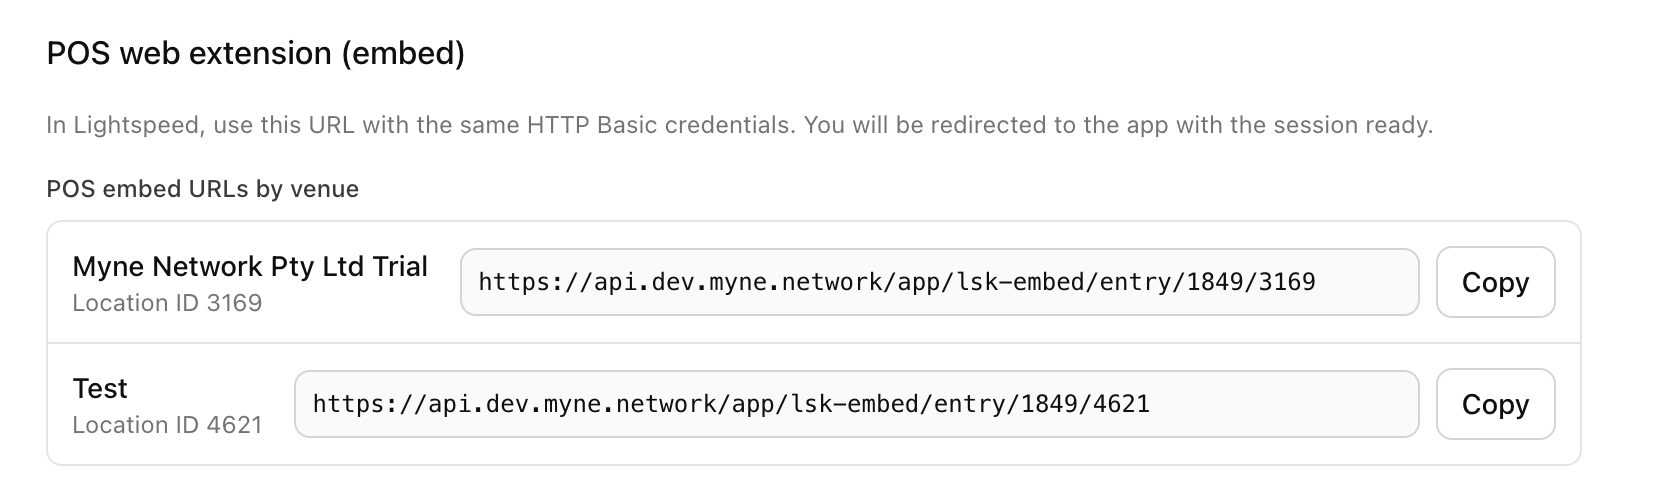
Please note the details in the POS web extension section of the K-series integration page. You will need these details to create a web extension in Lightspeed's back office.
Log in to myne: https://app.myne.network
Go to Settings → Integrations
Open Lightspeed K-Series
Find POS web extension section.
Please take note of the POS embed URLs by venue. For each location synced to your LSK account, myne will create a location URL.
In Lightspeed K-Series back office:
Under Operations, go to Web extensions
Click create web extension
Each location in LSK will need its own web extension
Enter:
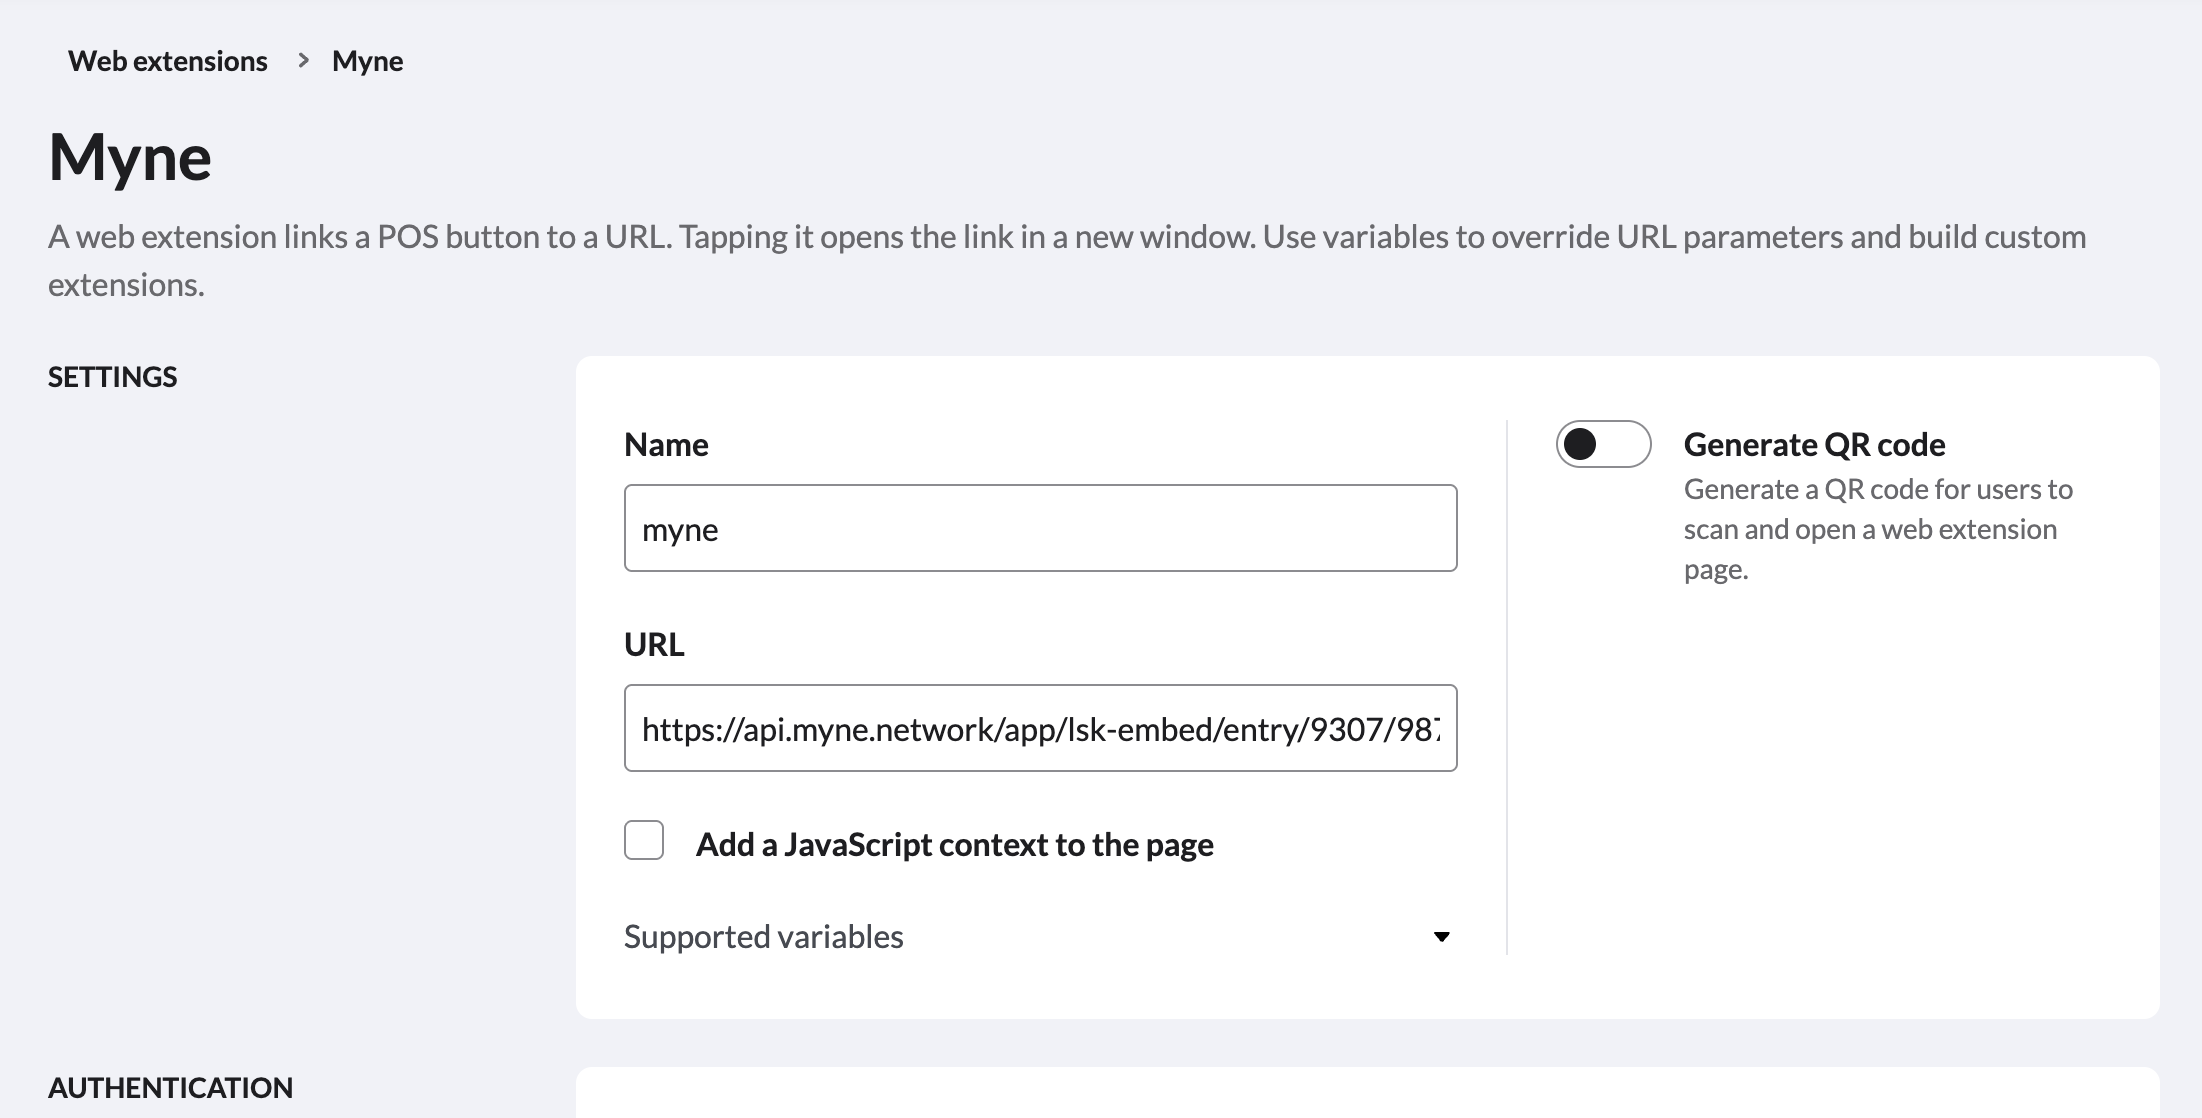
App name: myne
URL: (POS embed URL by venue) for the matching venue
Authentication: HTTP Basic
Username & Password: from myne
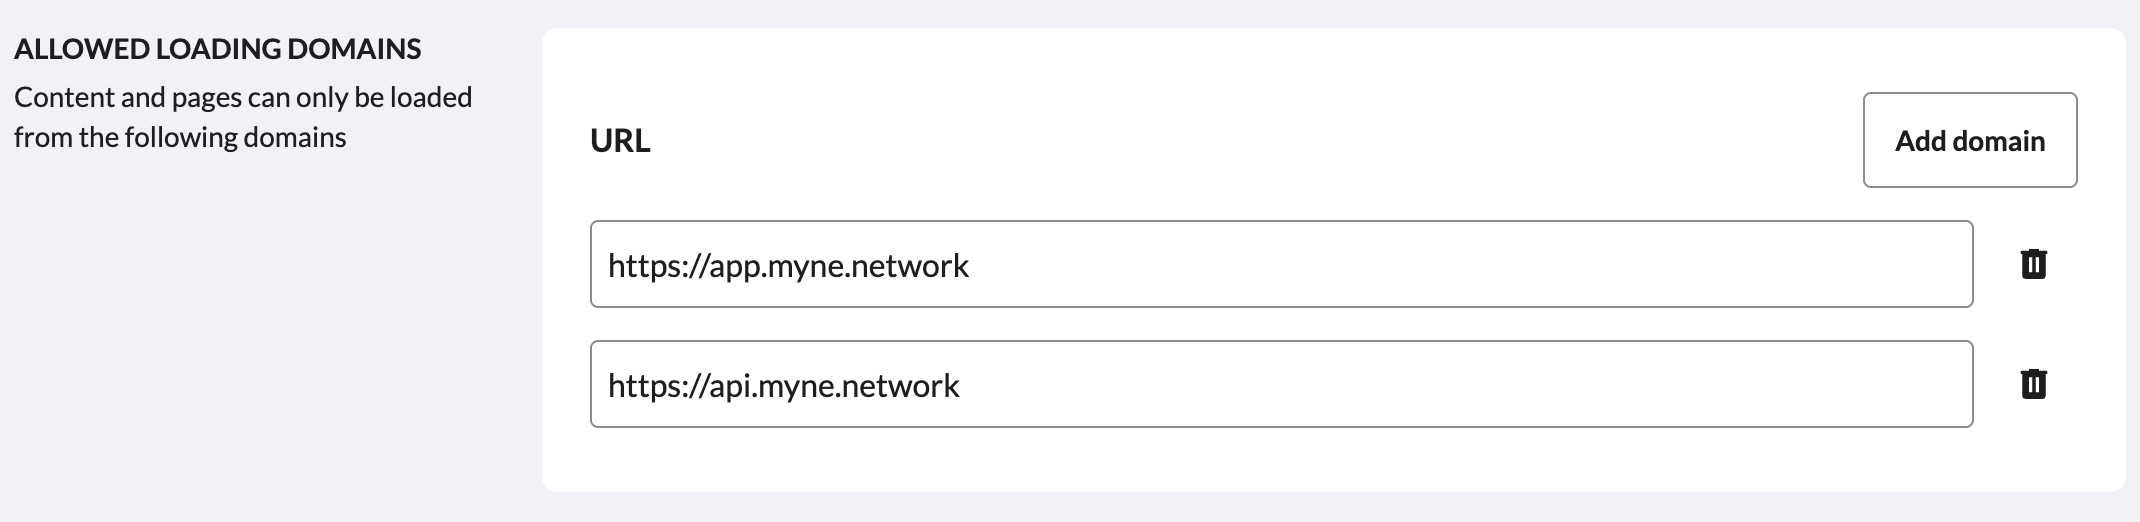
Allowed domains - add the following 2
4. Save
Step 3: Setting up Webhooks
You will see a section to turn on webhooks within your myne integration page. Please email support@myne.network to enable real-time updates. We highly recommend this step for accuracy. We will reach out to the Lightspeed support team and have this turn this one for you.
Using myne in POS
To have myne appear in your POS, you will need to add it your POS menu as a button.
Head to Lightspeed K-series back office
Under Menu, go to Menu Management
Please click into any of the menu's you use on the POS
On the left hand side you will see your Main Screens
Click into one and then click 'Add Button > Web extension'
You will see myne appear. Add this to your POS
myne will now appear in your POS so you can apply promotions. Once logged into POS, add some items then you will see myne appear like an item near your modifiers in your miscellaneous category.
Any questions please email us at support@myne.network for further assistance.