
Create and configure a Journey
Set up stages, properties, and automation for your workflow
Published
 Lakshey
Creating a Journey only takes a few minutes. Once created, you can customise the stages, add run properties, configure completed stages, and prepare it for your team to use.
Create a new Journey
From the Journeys page:
Click Create journey or click New Journey in the Journeys sub-nav
Enter a name for your Journey.
Choose whether the Journey will track Businesses or Contacts.
Add the stages that make up your workflow.
Click Create.
Journey settings
Here are the Settings you will need to configure for a Journey board. You can configure the basics to begin and add more details later.
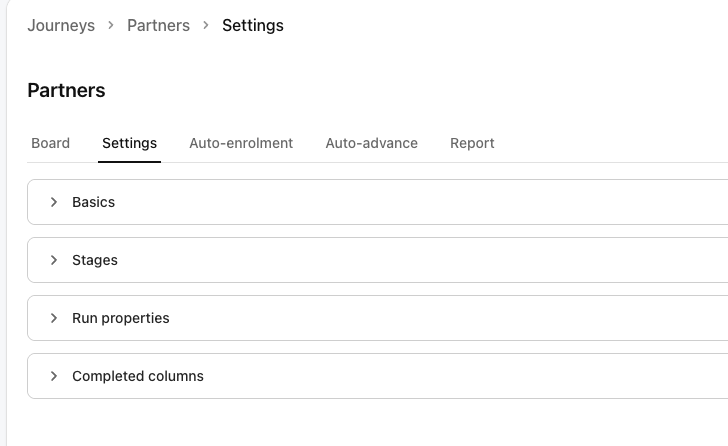
Basic information
The Basics section allows you to:
Rename your Journey.
View whether it tracks Businesses or Contacts.
The record type cannot be changed after the Journey has been created.
Stages
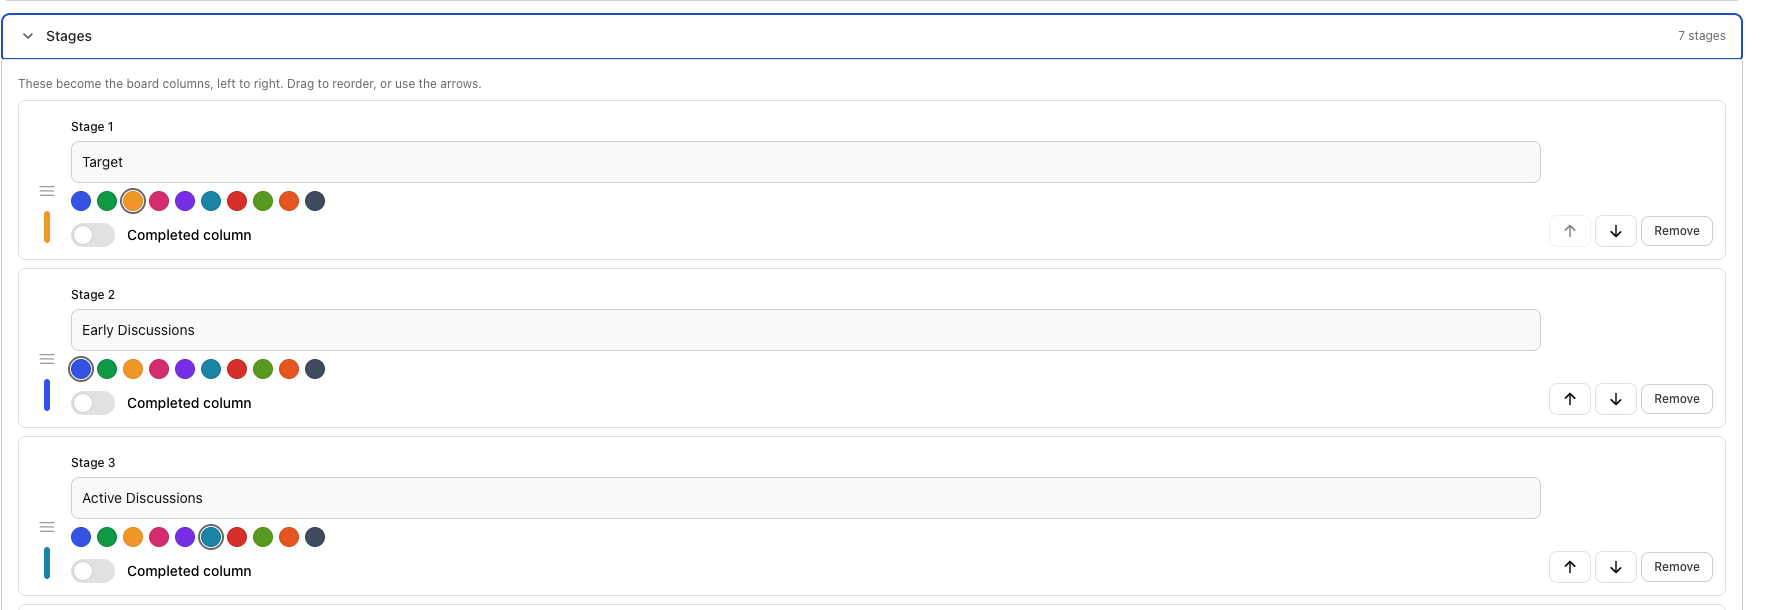
Stages represent the steps in your workflow.
You can:
Rename stages.
Add or remove stages.
Drag stages to change their order.
Choose a colour for each stage.
Mark stages as completed.
Completed stages appear at the end of your board and can be used for outcomes such as Completed, Closed Won, or Closed Lost.
Run Properties
Run Properties allow you to store additional information against every record moving through the Journey. You will need to add these in after you create the Journey.
You can link existing properties from your brand or create entirely new ones specifically for your workflow.
For example, you might add properties such as:
Deal value
Target close date
Main contact
Training date
Referral source
Implementation owner
Each property can be configured to:
Display on Journey cards.
Sync changes back to the original Business or Contact record.
Be reordered to control how information appears.
Because Run Properties are fully customisable, every Journey can capture the information that matters most to your process.

Completed columns
Completed columns help keep your board tidy.
Choose how many days completed records remain visible before they're automatically hidden from the board.
Older completed records aren't deleted—they can still be loaded and viewed when needed.
Duplicate a Journey
If you regularly use similar workflows, you can duplicate an existing Journey instead of creating one from scratch.
A duplicated Journey copies your stages and configuration, allowing you to quickly adapt it for another team or process.
Before you start using your Journey
Once your Journey has been configured, you're ready to begin adding records.
Records can be added manually, automatically enrolled when they join a group, or moved through stages using automations.
What's next?
Now that your Journey is configured, learn how to manage records, move them through stages, and automate your workflow using the Journey board.